阿里云服务的配置
1. 建立博客的存放目录
以下命令用户若未说明均为在root用户下进行
1
2
| mkdir -p /var/repo
mkdir -p /var/www/hexo
|
2. 搭建nginx服务器环境
2.1 安装
2.2 启动服务器
1
2
| systemctl start nginx
systemctl enable nginx
|
2.3 配置Nginx
2.3.1 新建配置文件
配置服务器的路由:通过公网ip访问,这个地址指向的是nginx,得让其指向我们的博客,就要修改配置文件, 找到配置文件etc/nginx/nginx.conf,并不建议直接修改配置文件,应该先创建一个新的文件,然后采用include的方式,将这个文件包含进nginx.conf中
1
2
3
4
| cd /etc/nginx/
mkdir vhost
cd vhost
vim blog.conf
|
2.3.2 编写配置文件
编辑blog.conf 如下
1
2
3
4
5
6
| server {
listen 80 default_server;
listen [::] default_server;
server_name 填写个人的域名或IP;
root /var/www/hexo
}
|
2.3.3 用include插入到nginx.conf中
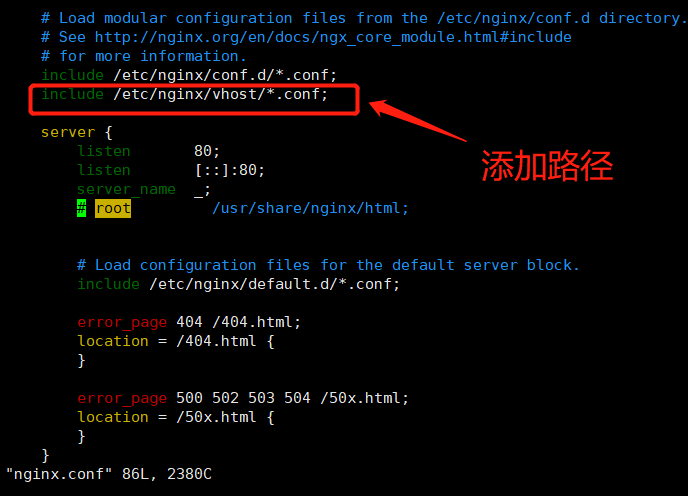
如果以后还想添加新的网站,也可以在vhost目录下新建一个conf配置文件。然后再用include装入到nginx.conf中。
3 安装Git并进行配置
3.1 安装
1
| yum install -y nginx git
|
3.2 添加git用户
1
2
3
4
5
6
| useradd -m git
passwd git
chmod 740 /etc/sudoers
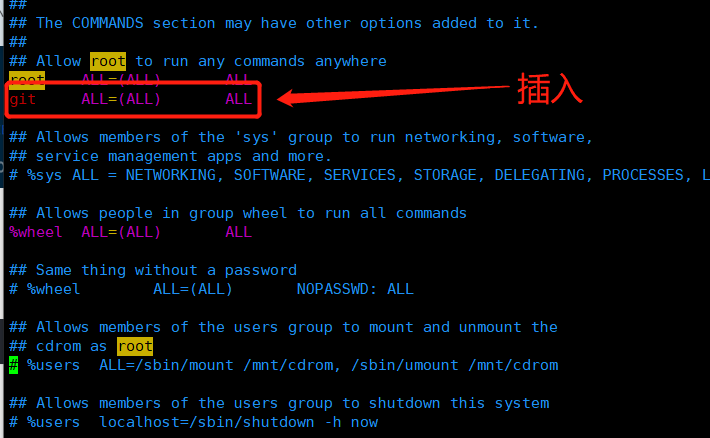
vim /etc/sudoers
git ALL=(ALL) ALL
chmod 400 /etc/sudoers
|
3.3 给git用户
这一步骤切换至git用户
1
2
3
4
5
6
7
| su - git
mkdir -p ~/.ssh
cd /.ssh
ssh-keygen
cp id_rsa.pub authorized_keys
chmod 600 ~/.ssh/authorzied_keys
chmod 700 ~/.ssh
|
3.4 创建git仓库并使用git-hooks实现自动化部署
在root用户下进行
1
2
3
| cd /var/repo
git init --bare blog.git
vim /var/repo/blog.git/hooks/post-update
|
3.4.1 post-update的内容如下
1
| git --work-tree=/var/www/hexo --git-dir=/var/repo/blog.git checkout -f
|
3.4.2 给post-update授权
1
2
3
4
| cd /var/repo/blog.git/hooks/
sudo chown -R git:git /var/repo/
sudo chown -R git:git /var/www/hexo
sudo chmod +x post-update
|
3.5 修改git用户的默认shell环境
本地配置(windows)
1 安装Git和Node.js
去官网下载对应安装包安装即可
2 安装Hexo及插件
在磁盘上选择一个目录,然后右键git bash,如:D:\AliyunHexo
1
| npm install hexo-cli hexo-server hexo-deployer-git -g
|
3 本地初始化博客站点
1
2
| hexo init ~/blog
npm install hexo-deployer-git --save
|
4 本地Hexo配置
1
2
3
4
5
|
deploy:
type: git
repo: root@xxx.xxx.xxx.xxx:/var/repo/blog.git
branch: master
|
5 将本地Hexo代码部署到服务器
1
2
3
| hexo clean
hexo generate
hexo delopy
|
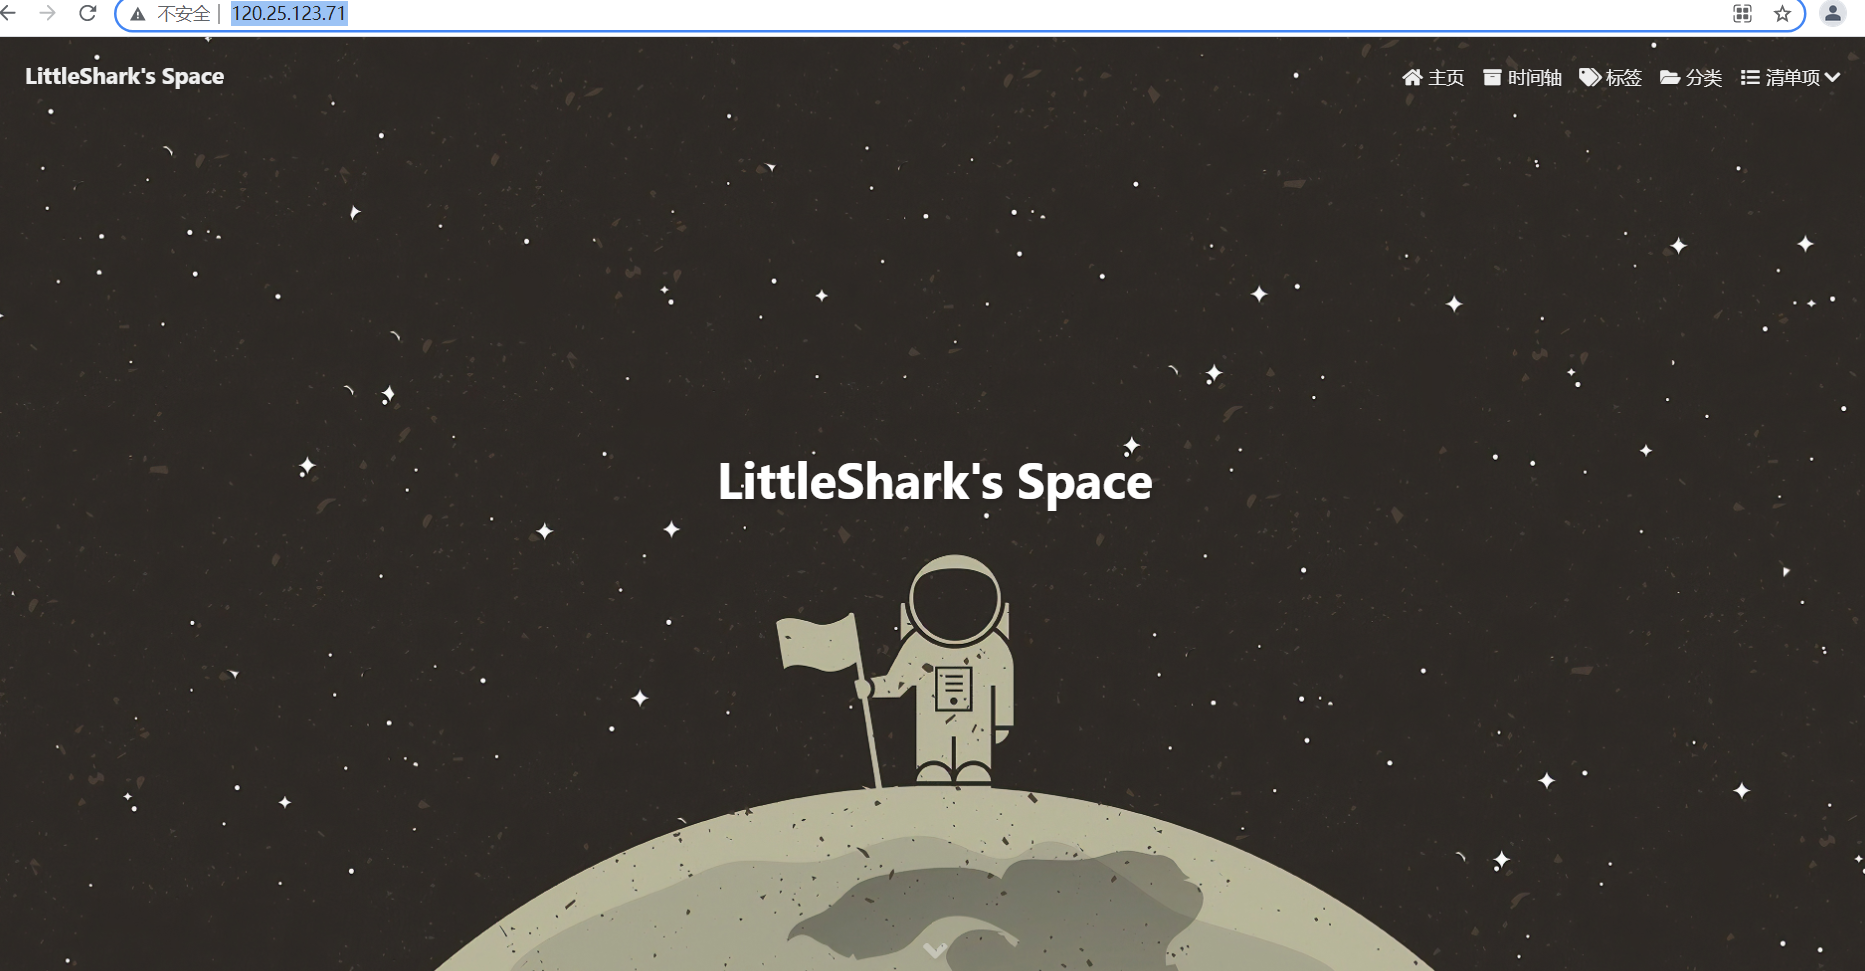
6 测试效果图(自定义修改了主题)
访问 http://120.25.123.71/